
Combine your love of essential oils and crafting to create your own DIY essential oil diffusers.
Have you ever looked at an essential oil diffuser and liked it but passed on it because it was not just quite right for you? Then, squeeze your creative juices and let them flow!
Crafting DIY essential oil diffusers enables you to create the diffuser you want–and most often for a nice savings! You might get so addicted to handcrafting your diffusers that you start making them to give as gifts.
Here are ideas to inspire you.
1. DIY Essential Oil Inhaler
With a very few inexpensive supplies, you can make a DIY essential oil inhaler.
I recently made these as get well gifts. The flu made its way through my entire family and several of my friends a few months ago.
This was no “normal” flu bug; this was a type that held on and left everyone congested, coughing, and feeling drained long after the symptoms were not contagious.
“Feel Better Flu Blend” for DIY Essential Oil Inhaler
- 4 drops of citrus zest blend essential oil as a pick me up (blend includes sweet orange oil, cardamom oil, and lemon oil)
- 4 drops of peppermint essential oil to relieve congestion
- 3 drops of clary sage essential oil to fight feeling blue
How to Make a DIY Essential Oil inhaler
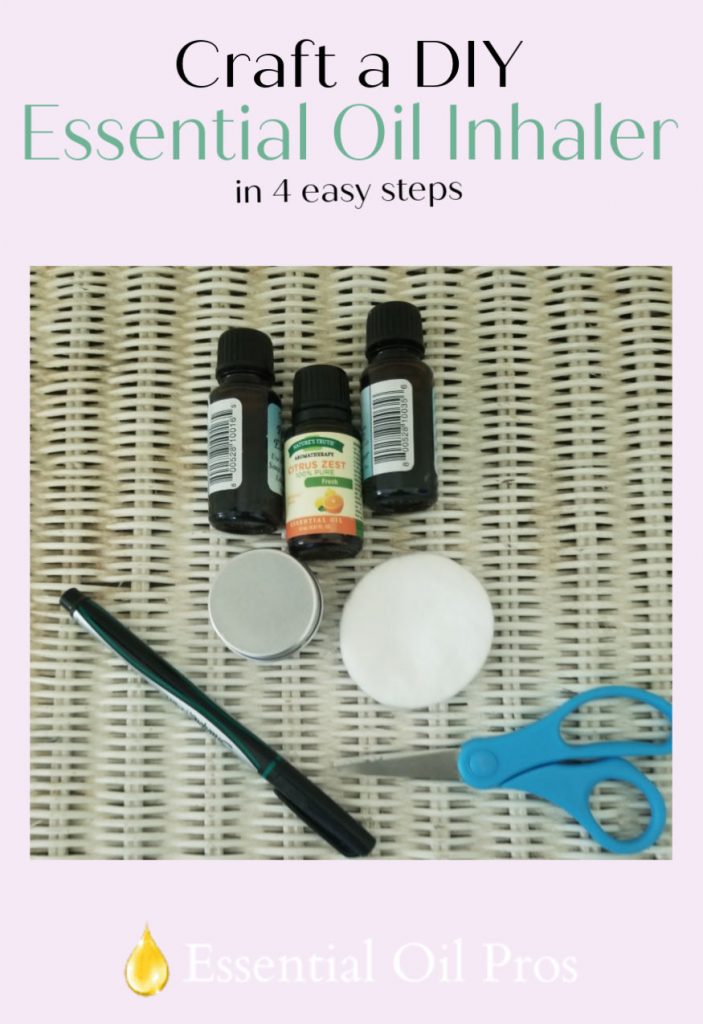
- Gather up your supplies:
- lip balm tin (I bought the 0.5 oz tins in a large pack)
- 2 cotton rounds
- essential oils
- pen
- Trace around the rim of the tin onto the cotton rounds. Cut inside the line to create a circle that will pop right into the tin.
- Add your desired essential oils.
- Cap tightly. Add oils to refresh as needed. You might also choose to make a cute little label for the top.
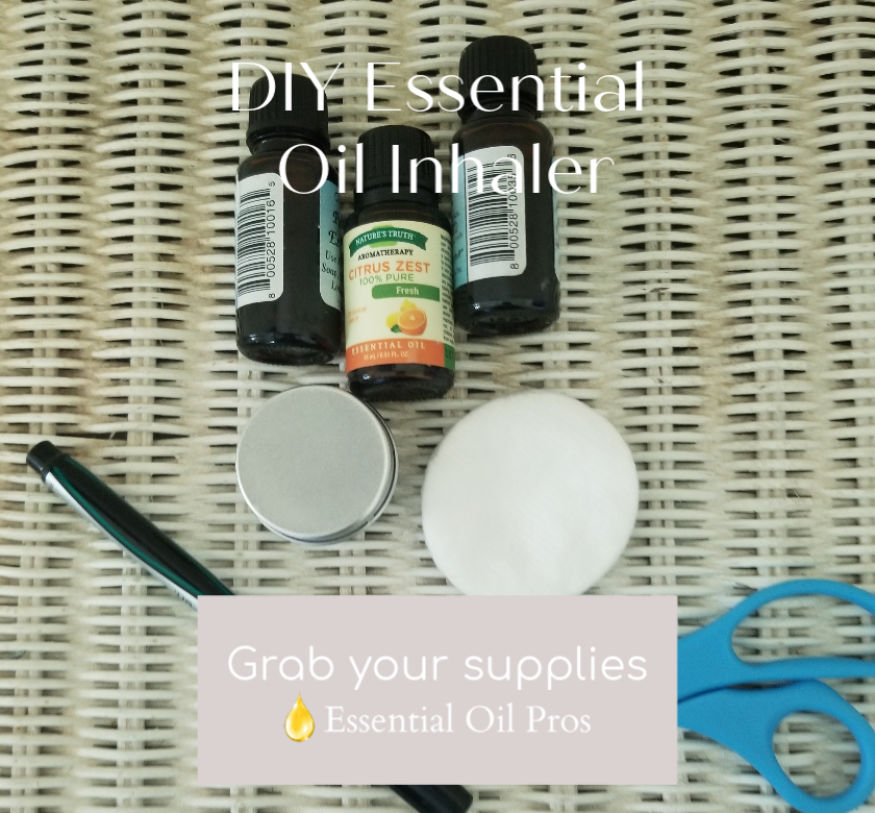
Supplies you need. 
Trace the tin. 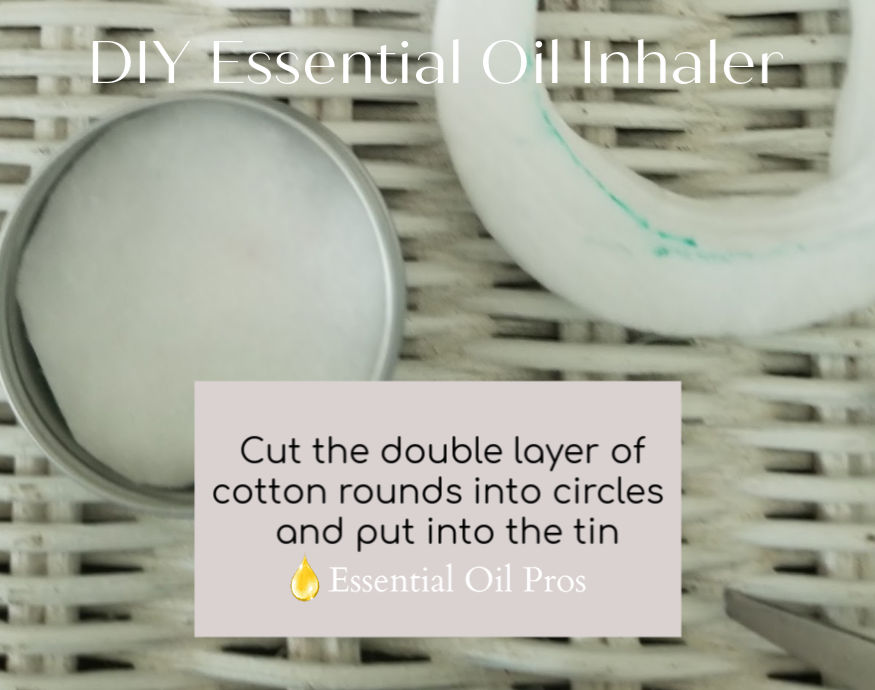
Cut circles. 
Cap it and close
The last photo above is my inhaler. Isn’t it cute? It drops right into my purse, so I carried it with me the whole time I was recuperating and was able to whiff away at will.
You can also purchase nasal inhaler tubes (they look like lip balm tubes) from online stores. You just stick the cotton down into the tube to form a wick for the essential oil, add your favorite oils. The tube inhalers work well, but I preferred the look of the stainless steel tins for gift-giving.
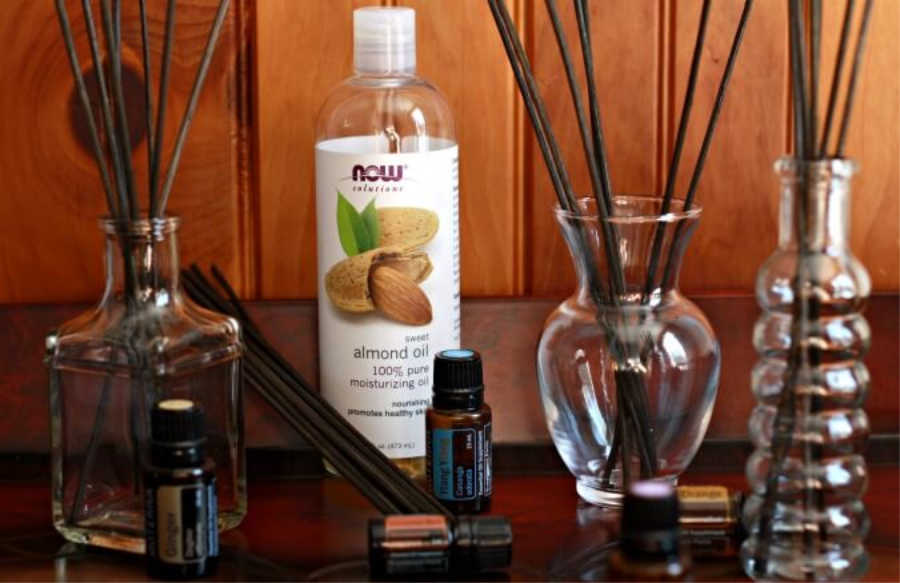
2. Reed Diffusers
Do you love the tall, elegant look of a reed diffuser? You can buy them at the store, but some of them can be fairly expensive.
Why not make your own, instead. This is another really quick and easy project–even if you’re not a super-crafty person.
- Gather your supplies:
- tall and narrow jar
- Isopropyl alcohol
- your favorite essential oil
- bamboo skewers
- a lighter weight carrier oil such as sweet almond oil or safflower oil
- Place the carrier oil, essential oil, and isopropyl alcohol into the jar. Use a funnel if you need a hand keeping the liquids from dribbling down the edges of the jar.
- Arrange the bamboo skewers so they look pretty. Voila!
You might be wondering about whether or not you must use the alcohol, and the answer is yes. It serves as a binder that will help increase the absorption rate of the bamboo skewers.
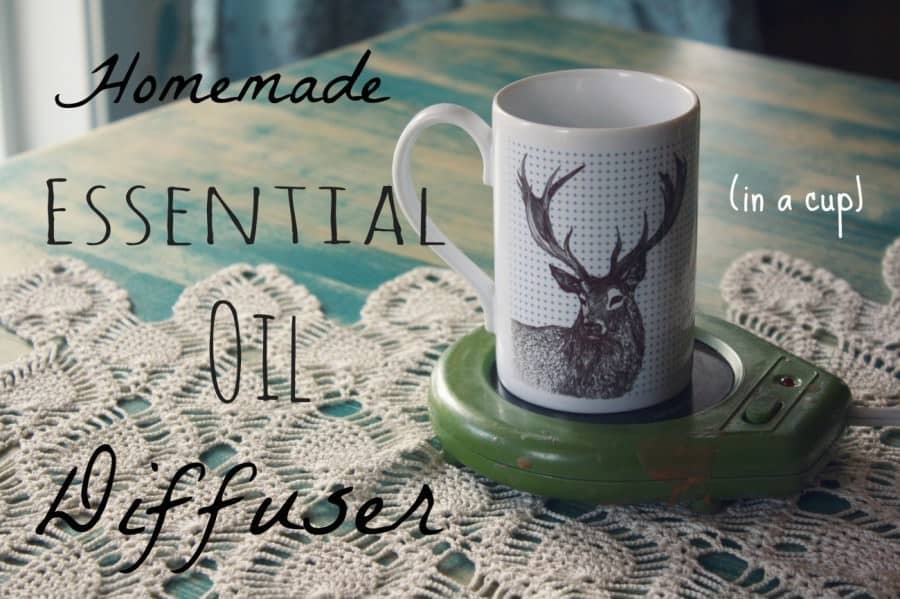
3. Candle Diffusers
For those who want the intensity of a warmed oil or candle but don’t want an open flame, a DIY cup and candle warmer essential oil diffuser strikes the right balance.
Once you set it up, you have several hours of enjoyment without the worrying about a candle.
How to Make a Cup and Candle Warmer
- Gather your supplies:
- ceramic coffee mug
- electric candle warmer
- essential oils
- 1/2 cup of water
- Preheat your candle warmer and simmer 1/2 cup of water. If you use too much water, you’ll need to use more essential oils, but if you use too little water, you will find that the fragrance evaporates in a relatively short time.
- Add 4 or 5 drops of your favorite essential oil (or custom mix two or more fragrances) to the coffee cup.
- Pour the simmered water into the mug. Place the mug onto the preheated candle warmer.
The fragrance will last for several hours. One caution: keep the cord of the candle warmer unit away from your children and pets–you don’t want them accidentally pulling the cord and scalding themselves.
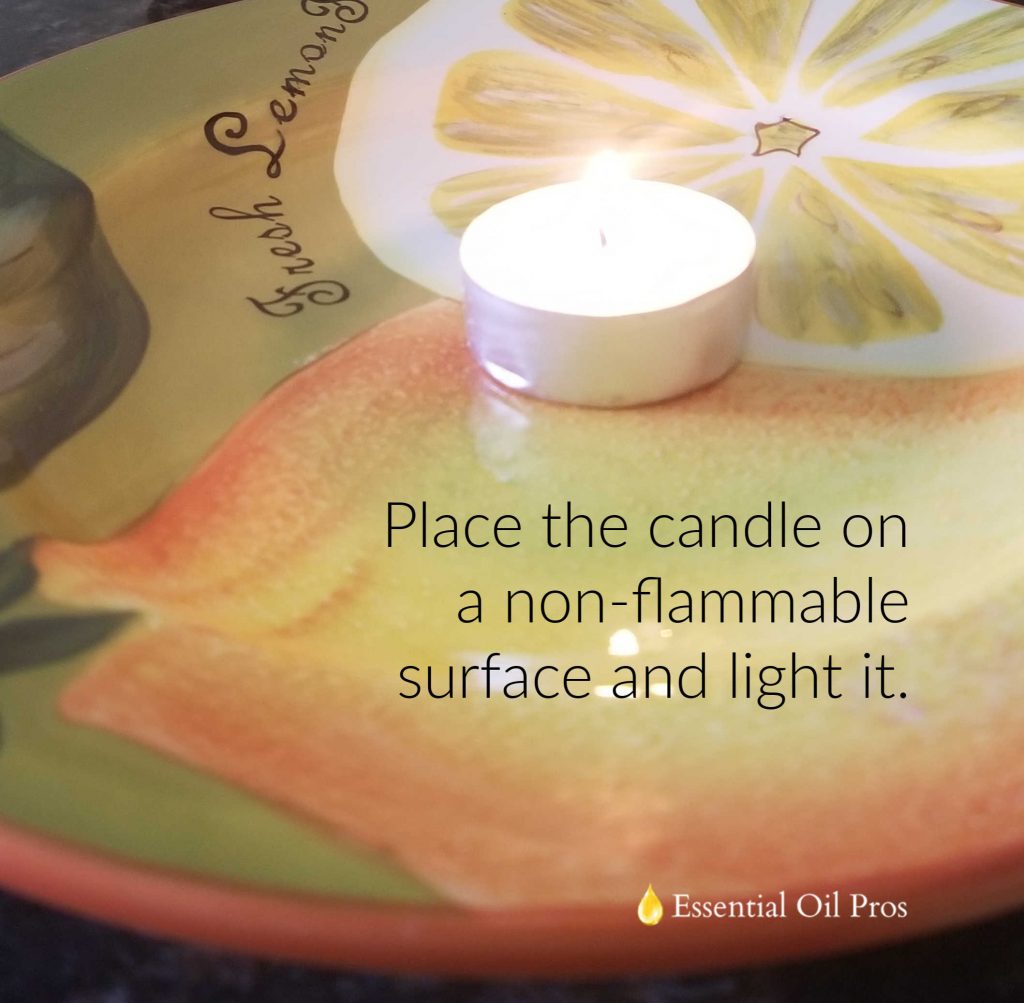
4. Essential Oil Votive Candles
Candle making is fun, but it’s a hobby that’s also messy and somewhat expensive to do.
This is a no-fuss way to make your own delightfully scented votive candles in the fragrances that you actually want, not the varieties that you can find in the store!
Plus, as you burn them you experience the benefit of diffusing therapeutic essential oils.
How to Make a DIY Essential Oil Votive Candle (the Easy Way)
- Gather up your materials:
- unscented tealight candle
- essential oil
- lighter
- toothpick for stirring (I could not find a toothpick, so you’ll see I used a cake pop stick.)
- Use you lighter and carefully light the tealight candle. Set it on a heatproof surface, and let it burn for about 20 minutes. The wax will pool down the center core of the candle quickly.
- Once the wax in the center of the candle melted down to the metal casing, blow out the candle. Never add essential oils to an open flame of any kind, even a teeny cute little tealight!
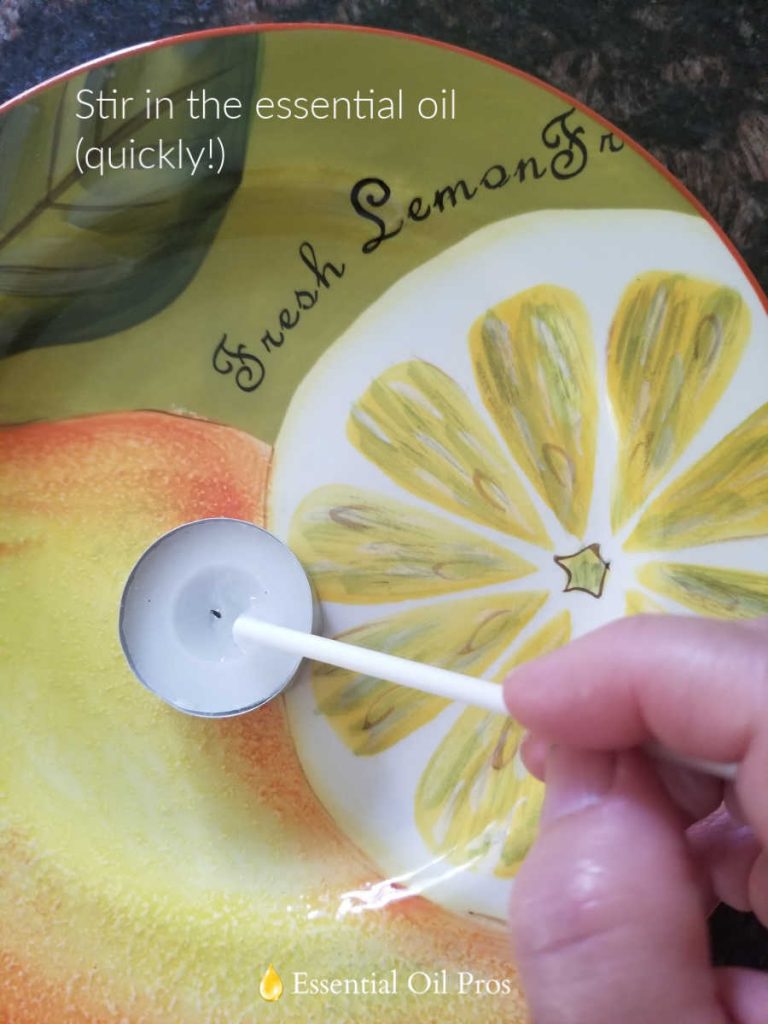
- Drop 3 to 4 drops of essential oil of your choice to the wax and stir with the toothpick.
- Let wax reform, and you will have a very nicely scented votive candle.
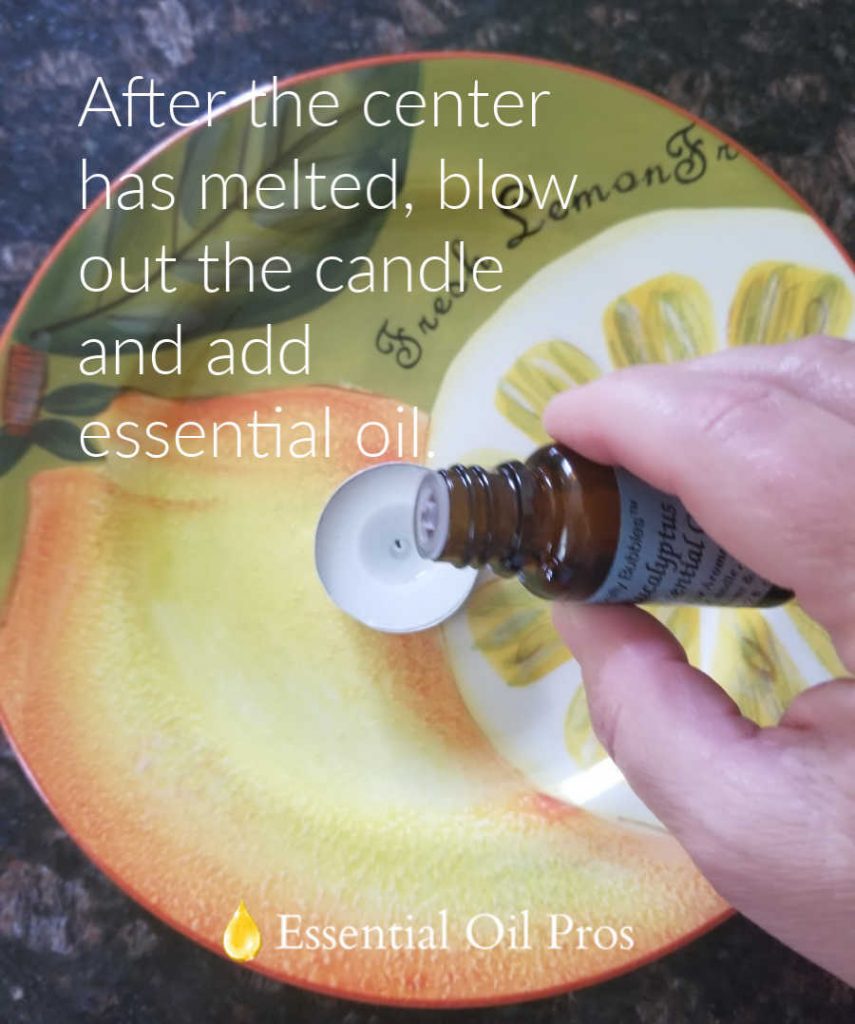

Choose the essential oil fragrance that you enjoy or which addresses your specific needs.
Below is a photo of my favorite DIY essential oil votive candle made with eucalyptus essential oil to soothe my allergies.
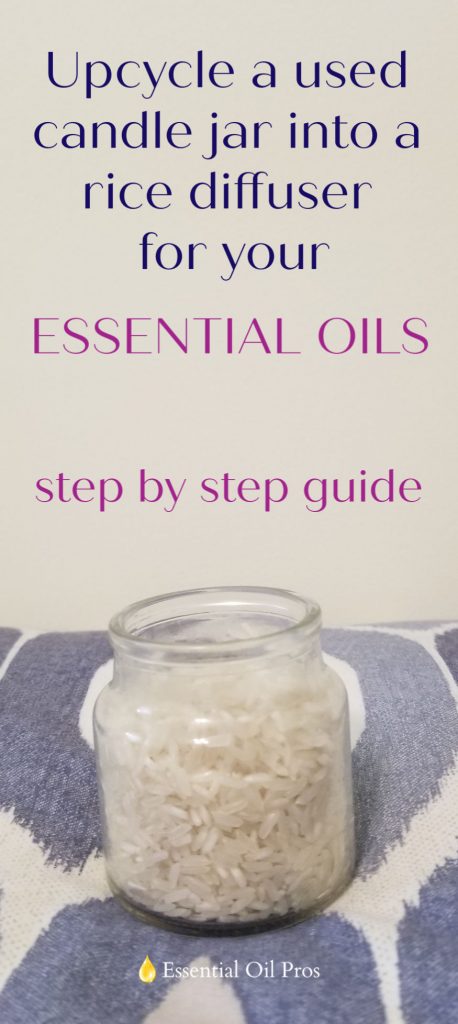
5. DIY Rice Diffuser
A rice diffuser is another super easy way to create an essential oil diffuser. This project takes less than a few minutes to make.
I burn a lot of jar candles as I’m working, so I like to find uses for the empty glass containers and lids when I’m done burning them.
I freeze the jars to make the wax molecules tighten up, carefully use a kitchen knife to cut the frozen wax into two chunks, and it drops right out. Wash, and you have a jar ready for crafting.
I recently made a rice diffuser to keep on my nightstand. Choosing lavender essential oil and eucalyptus essential oil both have a calming effect. Plus, the decongestant action of the eucalyptus essential oil eases my allergies. It’s perfect for me.
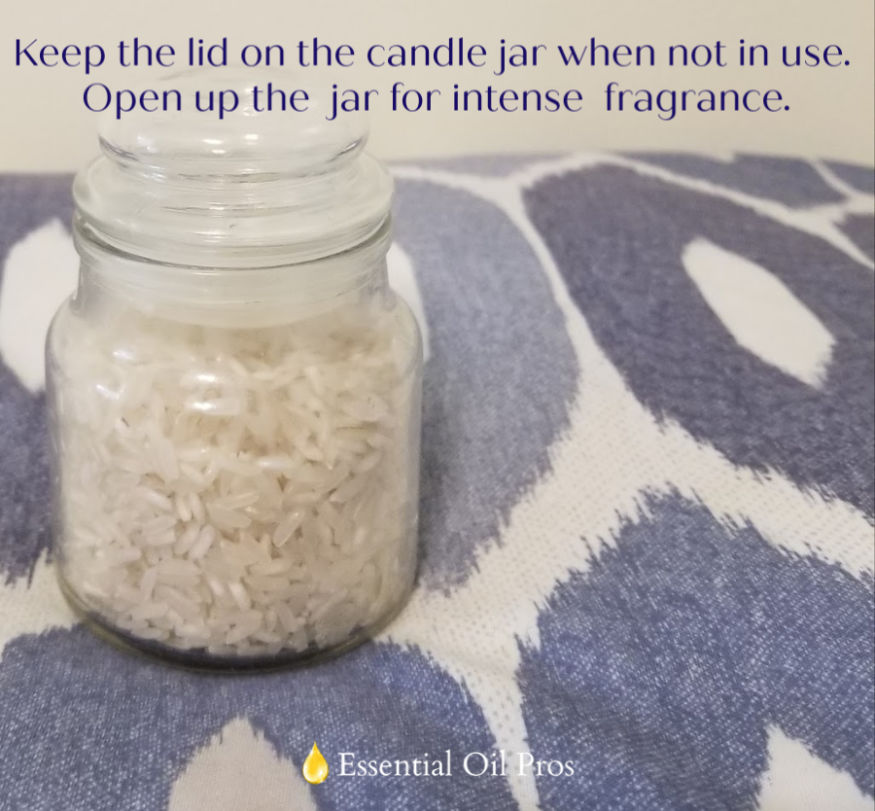
And, choosing a candle jar for my DIY rice diffuser allows me to close the top during the day to lock in the fragrance. So, when I uncap it in the evening before I go to sleep, the fragrance is potent and lovely.
“Good Sleep” Blend for a DIY Rice Diffuser
- 18 drops of lavender essential oil
- 10 drops of eucalyptus essential oil
Many rice diffuser “recipes” advise you to use 15 to 20 total drops of oils. However, I find that is not strong enough for my preference. Feel free to adjust this to suit yourself!
How to Make a Rice Diffuser Using a Small Candle Jar
- Gather your supplies:
- small candle jar
- 1/2 cup of rice of your choosing
- essential oils
- spoon for stirring
- Add the rice to your candle jar. Jasmine rice has a nice floral fragrance, and there are black rice products on the market that add color. I chose plain old white rice because that’s what I had on hand.
- Drop in your essential oils and stir.
Even if you don’t have a candle jar, you can use any cute open container you have around the house. With a little imagination, you can create a DIY rice diffuser for every room of your home. And, of course, you can infuse the rice with whatever essential oils address your specific needs.
6. DIY Toilet Paper Roll Diffuser
Is there no end to the ways we can fragrance our homes with essential oils?
The answer is no, and this DIY toilet paper roll diffuser proves it!
Let’s have some uncomfortably honest talk. The bathroom is a room where we spend a lot of money on air freshening products.
The problem is, those commercial chemical-laden air fresheners are usually aerosol and can damage the environment and even harm your lungs. If you are, or live in the home with, an allergy or asthma sufferer, you know that’s a true fact.
In addition to the negative impact of aerosol, medical studies on allergies and asthma suggest that commercial air fresheners are too intensely formulated for the lungs of patients to handle.
With essential oils, you can diffuse fragrance as softly–or as powerfully–as you can tolerate.
So, deodorize your bathroom with a DIY toilet paper roll diffuser. It diffuses your scent every time you give your roll a spin.
“Freshen Up” Essential Oil Blend for DIY Toilet Paper Roll Diffuser
- 3 drops of sweet orange essential oil
- 3 drops of lime essential oil
The fresh, juicy citrus fragrance smells like you just cleaned your bathroom! Use your imagination and use the essential oil fragrances that you love the most.
Other fragrances that I’ve tried are the following:
- Lavender essential oil
- Lemon essential oil
- Rose essential oil
- Peppermint essential oil
- Cedarwood essential oil
Each fragrance has a fresh, clean smell that works wonders to refresh the bathroom.
How to Make a Toilet Paper Roll Diffuser
- Gather your materials:
- roll of toilet paper
- essential oils
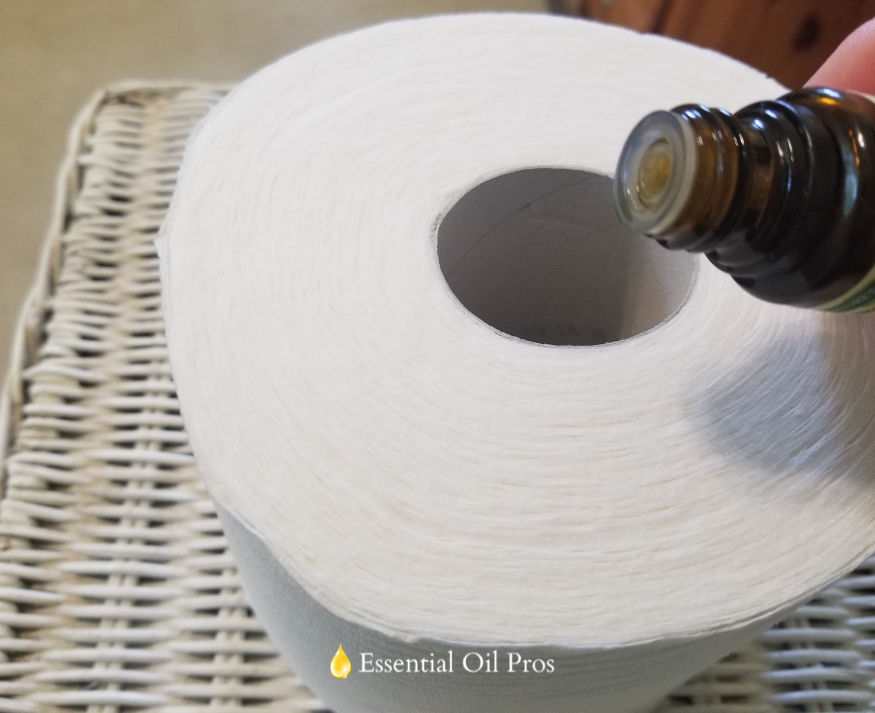
- Tilt the toilet paper roll, so the tube is up.
- Carefully drop six drops of essential oil into the cardboard; you want to it to soak into the tube not drizzle down the middle.
- Place your toilet paper on the roller and give it a whirl.
If you really want to up your, add your favorite essential oils to the toilet paper before you store the extra rolls away in the linen closet. This hack makes cedarwood one of my faves.
The fragrance will permeate the linen closet; you’ll scent your towels and linens softly. Refresh the cardboard tube with an extra drop or two of essential oils before you add it onto the roller for use.
7. DIY Essential Oil Diffuser Pads for Aromatherapy Necklace or Bracelets
If you love wearing your essential oils as a charm on a necklace or bracelet, you’re very familiar with the need to refill the fragrance pads daily. While the pads are indicated as reusable, they do wear out with repeated use.
Sure, you can purchase refill pads online. But, why not make your own and save the money?
Refill pads are made from durable materials, like leather or felt. These textiles will hold their shape as you insert them into your jewelry–flimsier fabrics will buckle and get scrunched up.
Give these a try, they are easy and fun and will save you some serious cash!
How to Make an Essential Oil Refill Pad:
- Get your supplies:
- A piece of felt or leather
- sharp scissors
- essential oils
- your diffuser locket
- pencil
- sheet of white tissue paper
- Use the pencil and tissue paper to trace the inside of your locket. Cut out the tracing to use as a template.
- Time to cut your essential oil replacement pads! Trace around your template onto the back of your leather or felt.
- Add 2 to 3 drops of essential oil and insert the pad into your locket.
You’ll find the leather a little more difficult to cut than the felt. The key to your success is a super-sharp pair of scissors.

These essential oil diffuser pads are so easy to make that you’ll wonder why you haven’t been making your own replacement pads all along!
8. DIY Essential Oil Diffuser Necklace or Bracelet
Since we just discussed creating replacement pads, let’s take our thoughts a step further and talk about creating your own DIY essential oil diffuser necklace or bracelet.
You can skip the locket style of necklace that you purchase at the store and make your own from lava beads or terra cotta clay.
Making DIY jewelry allows you to fully customize to your preferences.
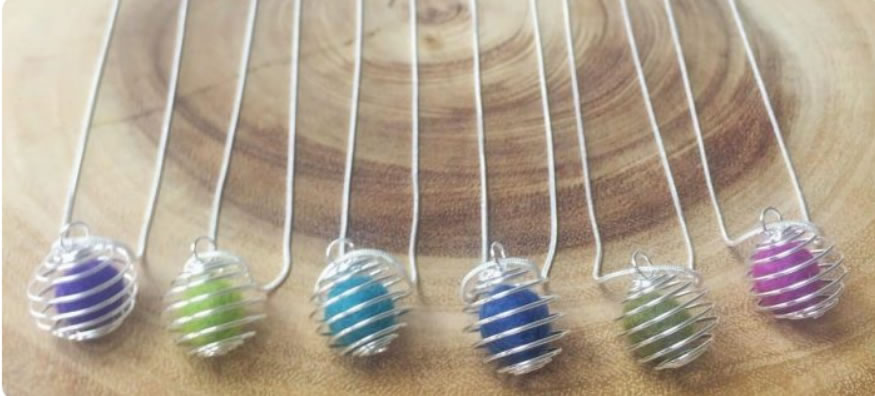
How to Make Lava Bead Jewelry
- Assemble all your supplies:
- lava bead
- bead cage charm
- necklace or bracelet chain
- essential oils
- jewelry pliers
- Place the lava bead inside the wire bead cage.
- Use the jewelry pliers to attach the cage to the necklace.
- Add a drop of essential oil.
For a fun, casual look, choose colorful cotton cords instead of stainless steel or metallic necklace or bracelet chains. These cotton options are affordable options for children.
How to Make a Terra Cotta Necklace
- Grab your supplies:
- air dry terra cotta clay
- a cotton or leather cord necklace
- a bamboo skewer
- mini cookie cutters (or a bottle cap!)
- a rolling pin
- essential oils
- Roll the air dry clay out to an even thickness of about 1/8″.
- Use the mini cookie cutter to cut the clay into a cute shape. Optional, you can carve a simple design or use a stamp to create visual interest.
- Pierce a hole near the top with a bamboo skewer.
- Allow the clay to air dry for the time indicated on the package (usually overnight).
- Slide the clay onto the necklace and add a drop or two of your favorite essential oils. The scent lasts about three days before requiring a refill.

These are fun to make and so easy! Don’t forget to get your little ones involved. It’s great quality time, and they will be proud they made their own jewelry.
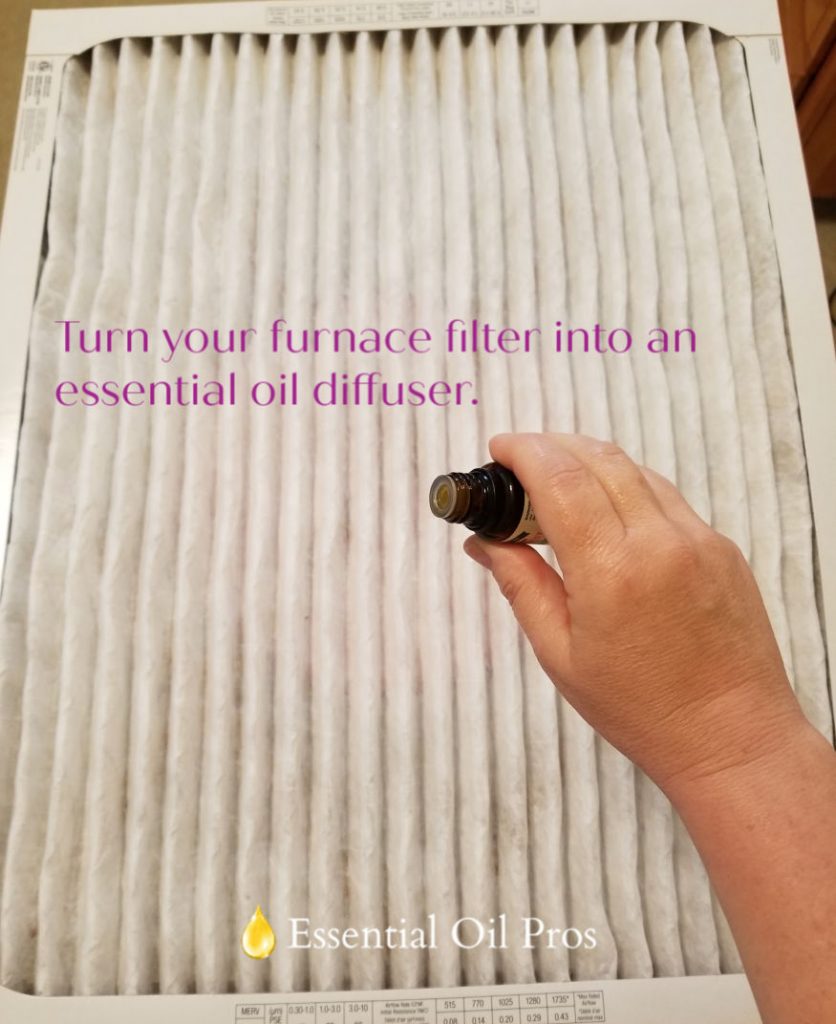
9. Essential Oil Furnace Filter Diffuser
You can scent your home with almost zero effort when you add essential oil to your furnace filter.
Let your furnace filter pull double-duty serving to filter the air of dust particles while diffusing fragrant essential oils that also help to purify airborne bacteria.
If that sounds too good to be true, rest assured that studies prove that essential oils can, indeed, combat bacteria.
Some of the essential oils that can help you cleanse your air of bacteria include the following:
- Tea tree oil
- Cinnamon oil
- Peppermint oil
- Eucalyptus oil
- Lavender oil
- Lemongrass oil
- Lemon oil
How to Make a Furnace Filter Essential Oil Diffuser
- Grab your materials:
- clean furnace filter
- essential oil of choice. (Above, I listed seven that fight bacteria in the air. Or, choose to surround yourself with a fragrance that you love.)
- Drop 10 drops of your essential oil onto the furnace filter. Install the filter. The next time your unit kicks on, you will fill the air with the fragrance.
- After 3 days, or when the fragrance fades, refresh your filter with a few more drops of oil.
Here is a photo of me adding oil to my heat pump filter, just in time for kicking on the a/c for the summer.
10. Essential Oil Mini Diffuser using a Recycled K-Cup
Have you ever purchased those room deodorizer sticks that come in a plastic tube that twists up? Many people purchase them to hide under the kitchen sink or behind the commode. They are very fragrant for a very short time for the amount of money they cost you.
Plus, who knows what chemicals they put in those sticks to make them congeal into a solid form. Yuck.
While I also like to hide a fragrance behind my toilet, I make my own mini diffuser for literally pennies–and know that I’m not poisoning my air. I can refresh the oils as needed. Plus, I can use the same sweet orange essential oil fragrance that pairs with my toilet roll diffuser. I just love the fresh, clean aroma.
How to Make an Essential Oil Diffuser from a Recycled K Cup:
- Get your materials together:
- clean, washed K cup, scissors
- small piece of felt or two cotton rounds
- the essential oil of your choice
- Trace a circle onto the felt or cotton pad around the narrow base of the K cup.
- Double up the felt or stack two cotton rounds. Cut to the inside of this line to ensure the pads will fit into the K cup.
- Pop the felt or cotton pads in a double layer inside the K cup. I like the double layer because the bottom layer ensures good absorption so no oil leaks out the tiny hole in the bottom of the K Cup.
- Add essential oils to the pad and hide this away from view.
While these are fantastic to hide behind the toilet, you can also conceal them under the seat of your car, to add fragrance to your closet, or behind any piece of furniture.
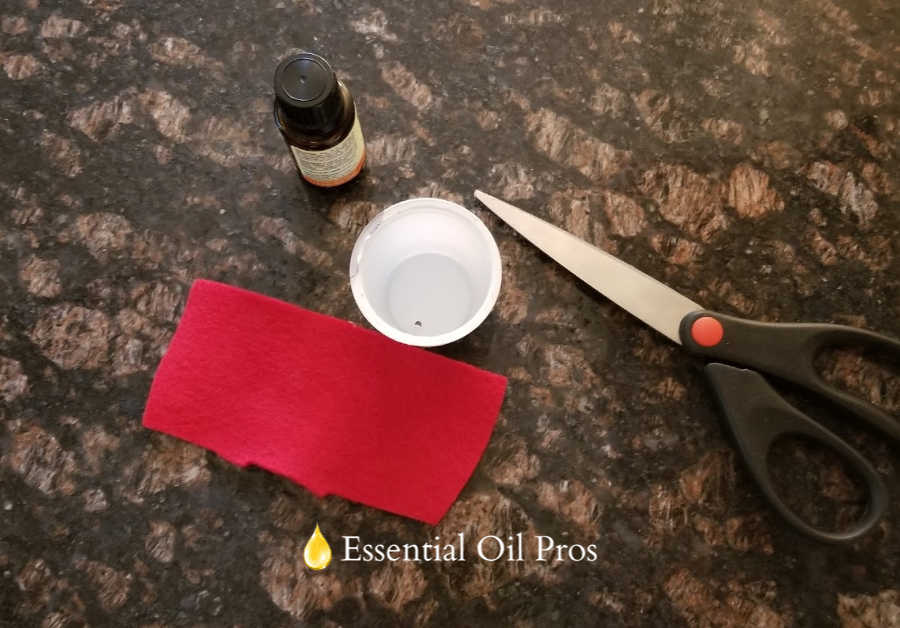
Gather your supplies 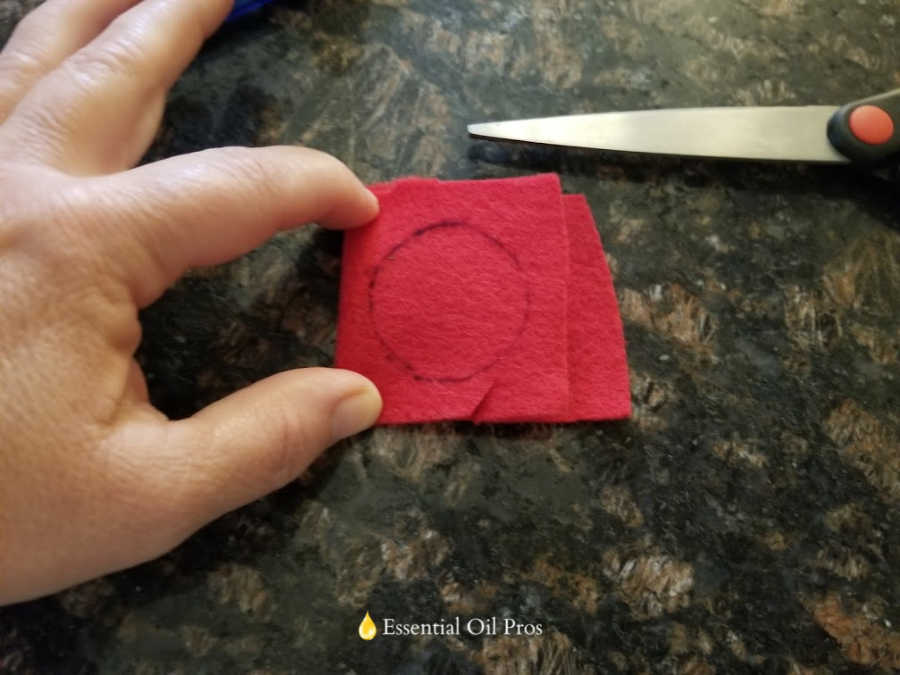
Cut your felt pad. 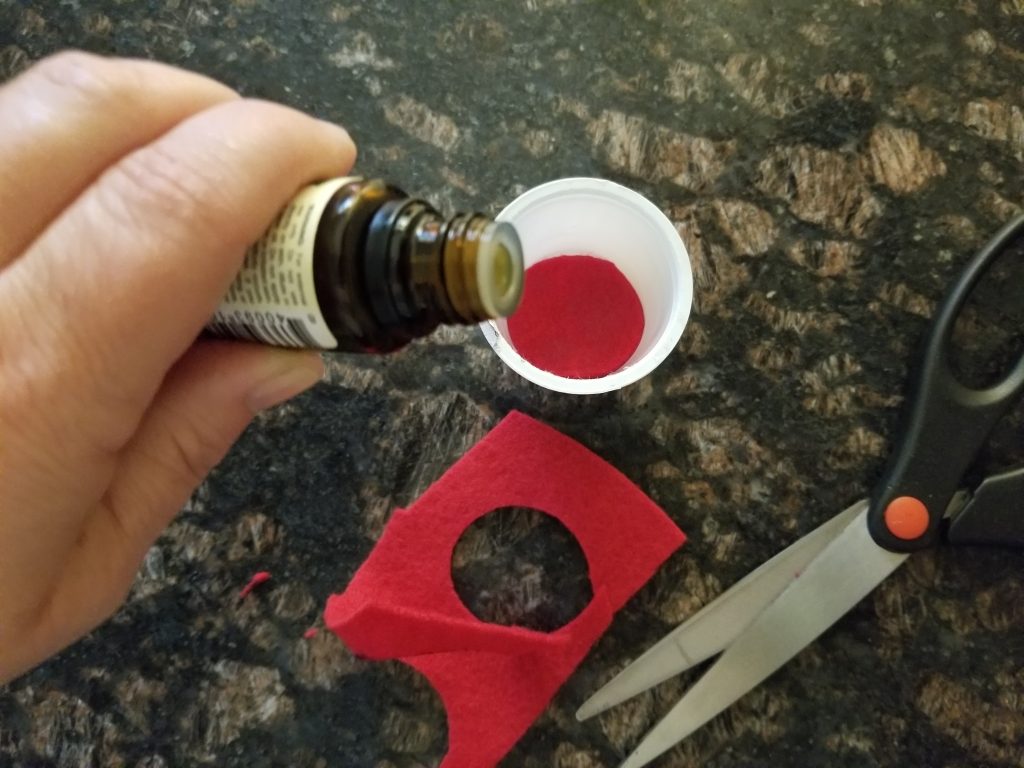
Add essential oil.
They smell great, and they keep your 60+ K cups per month out of the landfill!
11. Wood Diffusers
Wood is a porous, natural fiber and one I have overlooked when thinking about ways to diffuse essential oils.
I recently came across a blog post about how to turn wooden crafting items into an essential oil diffuser. It was a lightning strike moment!
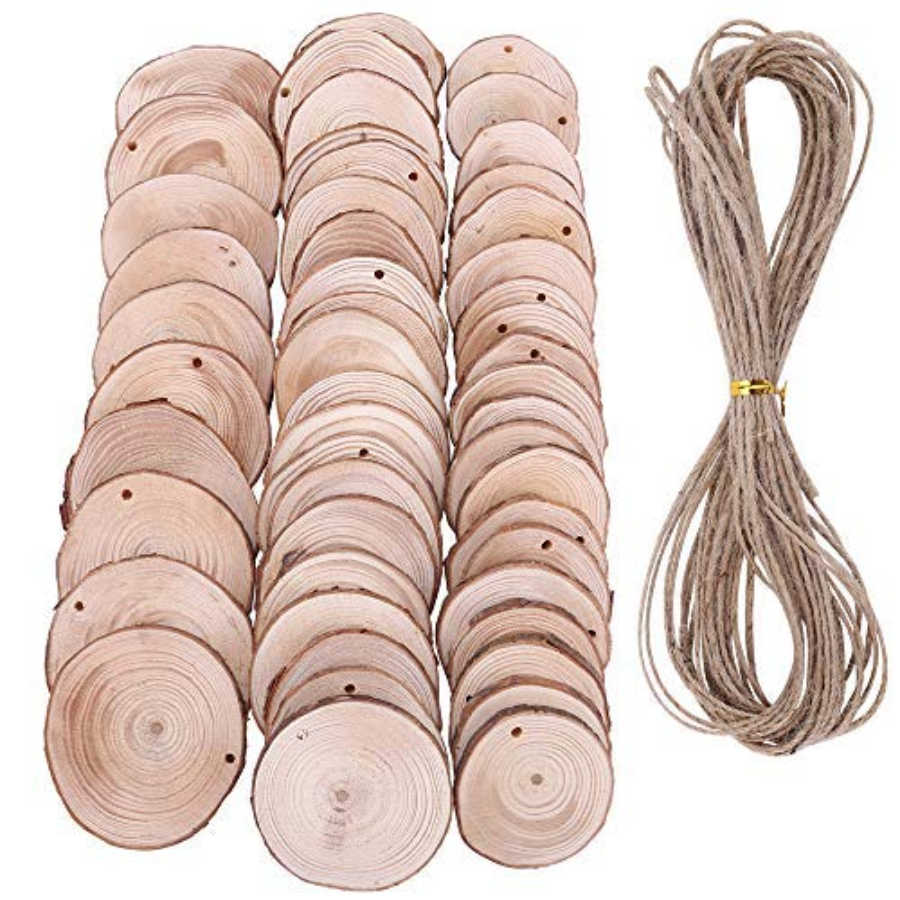
I found some cute pre-cut wood slices that hang up like Christmas tree ornaments. I’m using mine to keep my clothing fresh smelling in my closet.
How to Make an Essential Oil Wood Diffuser
- You need three things:
- a pre-cut wood slice with the hole already drilled
- twine to feed through the hole for hanging
- essential oils
- Drop five or six drops of essential oil onto the wood slice. You can do more or less of this depending upon how strong you’d like the fragrance to be.
- Thread the twine through the hole and hang this where desired.
Don’t limit yourself to hanging these.
I recently took out my suitcase to pack for a trip and found it had a musty, dusty, attic odor. I sprayed the interior of my luggage with my homemade essential oil linen spray, but my clothes still had an odd odor when I unpacked them.
After making these wood essential oil diffusers, I trudged back to the attic and tucked two of these in each piece of luggage to help minimize that odor the next time I travel.
To verify if this worked so I could post this tip, I just went upstairs, unzipped my carry-on bag, and was greeted with a nice, fresh minty smell instead of Eau de dust mite.
12. DIY Electric Essential Oil Diffuser using a Wax Melter
Have you stopped using your electric wax melter because you were appalled at the ingredients in the wax products? I know I did…at least until I turned my wax melter into an essential oil diffuser.
When I burn this DIY electric diffuser in my home office, I can smell the fragrance all the way down the hall from my office.
How to Make an Electric Wax Melter into a DIY Essential Oil Diffuser
- Get your materials ready:
- 1/8 cup of tap hot water (or just over a tablespoon)
- an electric wax melter
- essential oil
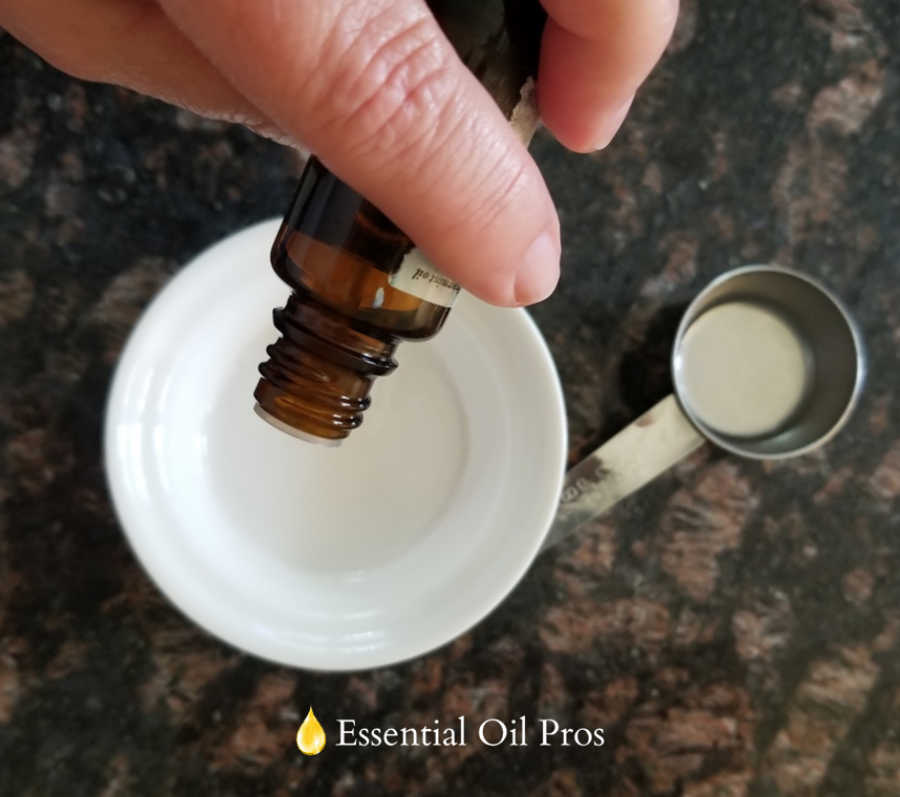
- Add 6 drops of essential oil to the bowl of the wax melter. Always add the oil first as it’s heavier than the water and will mix itself without you needing to stir it up.
- Pour 1/8 cup of tap hot water. While you can use cold water, it will take longer before you begin to release the fragrance.
Depending on how small or large the bowl of your wax melter is, you can adjust the water level you need. I have found this amount to be not too diluted, to heat quickly, and to last for several hours before requiring a refill.

13. DIY Car Diffusers
Cars can be smelly places. Bags of forgotten gym clothes, fast food odors, and the smell of stale coffee are frequent odor sources.
Keep your car’s interior clean with an easy DIY essential oil car diffuser.
Car diffusers typically disperse by hanging from the rearview mirror or clipping to the air vent. I made a vent clip car diffuser in under one minute.
Now, every time I enter my car, I’m greeted with my clary sage essential oil fragrance that helps keep me calm and alert when driving in traffic.
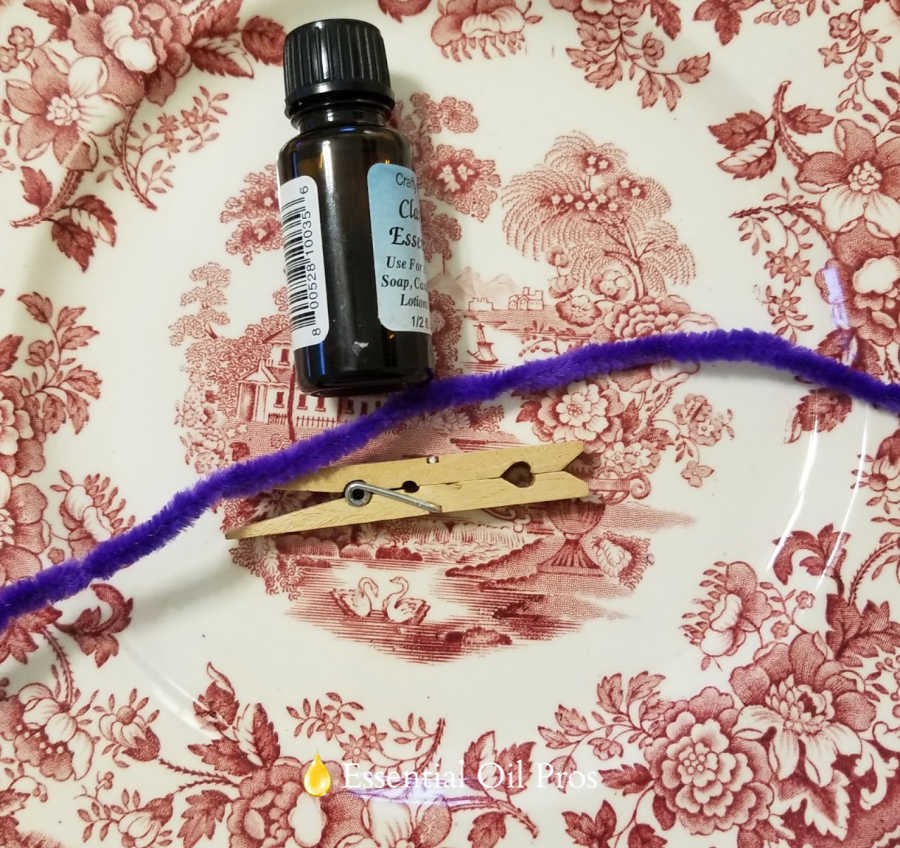
How to Make an Essential Oil Car Diffuser
- Get your materials ready:
- clip-style clothespin
- chenille stem (aka pipe cleaner) in your favorite color
- essential oil
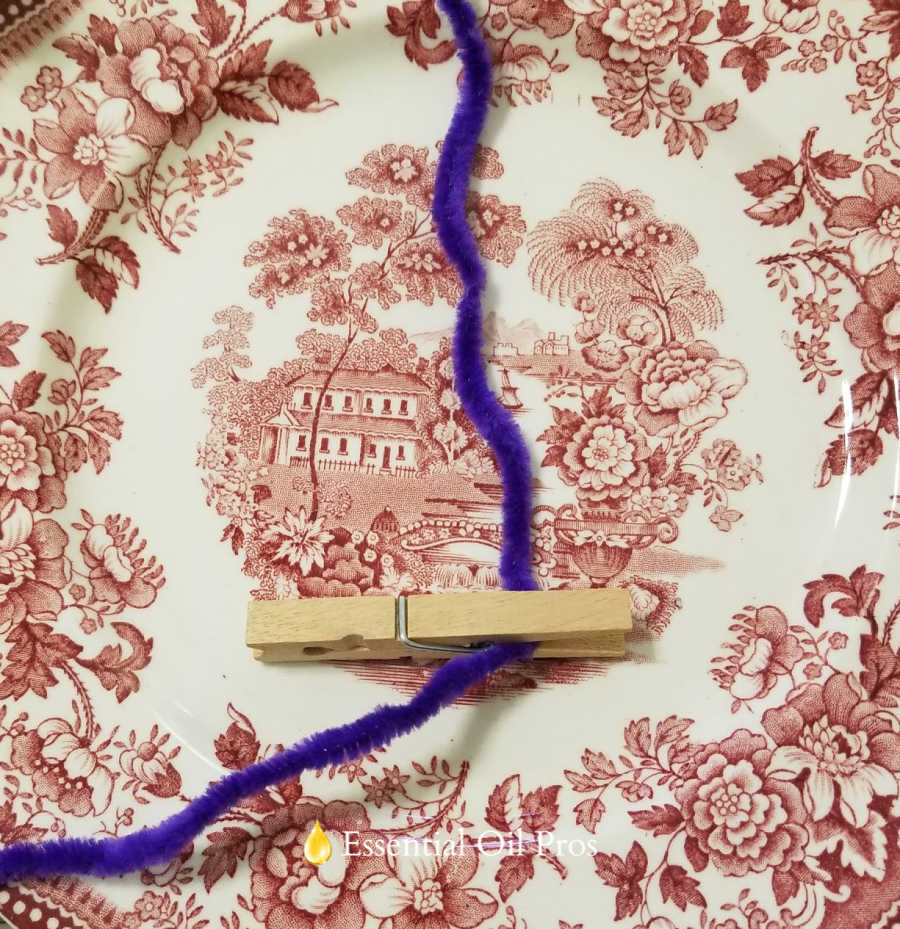
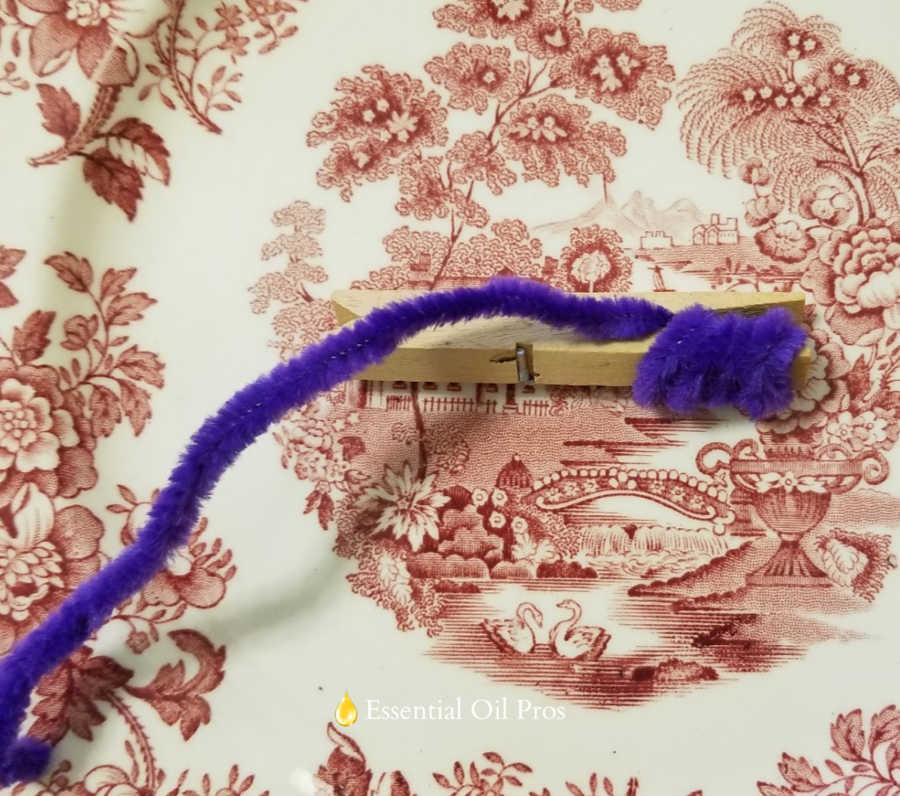
- Place the chenille stem in the middle of the ends that you pinch to open, halfway down the stem. Wrap one half of the stem around one arm of the clothespin, tucking the end to the inside. Then, repeat on the other arm of the clothespin.
- Place three drops of essential oil onto the chenille–it’s an absorbent fiber.
- Clip the clothespin to your car vent.
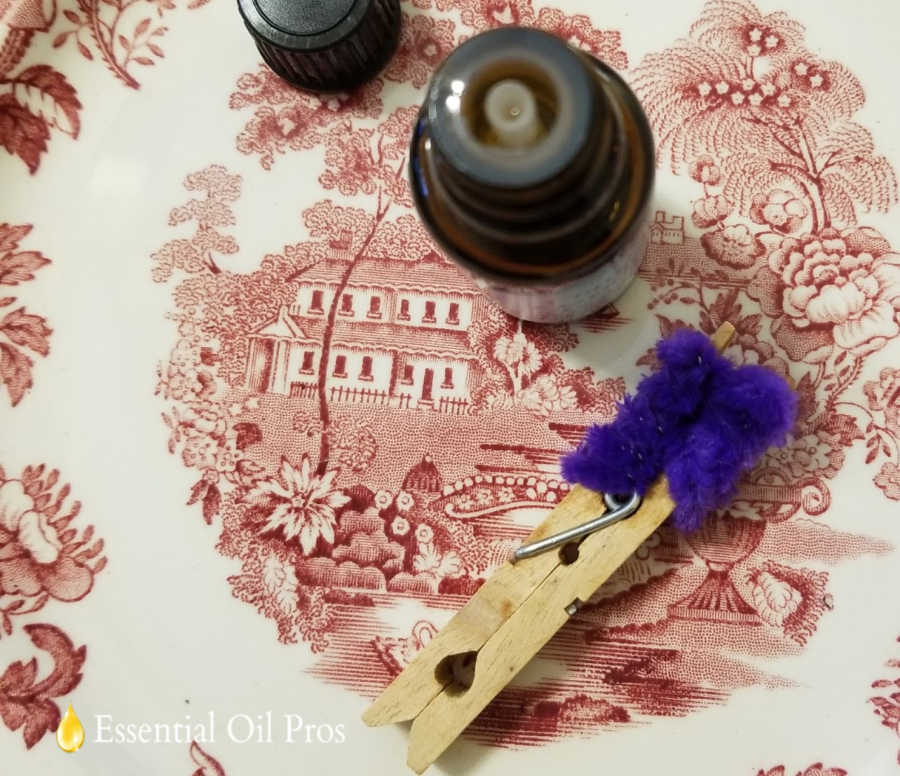
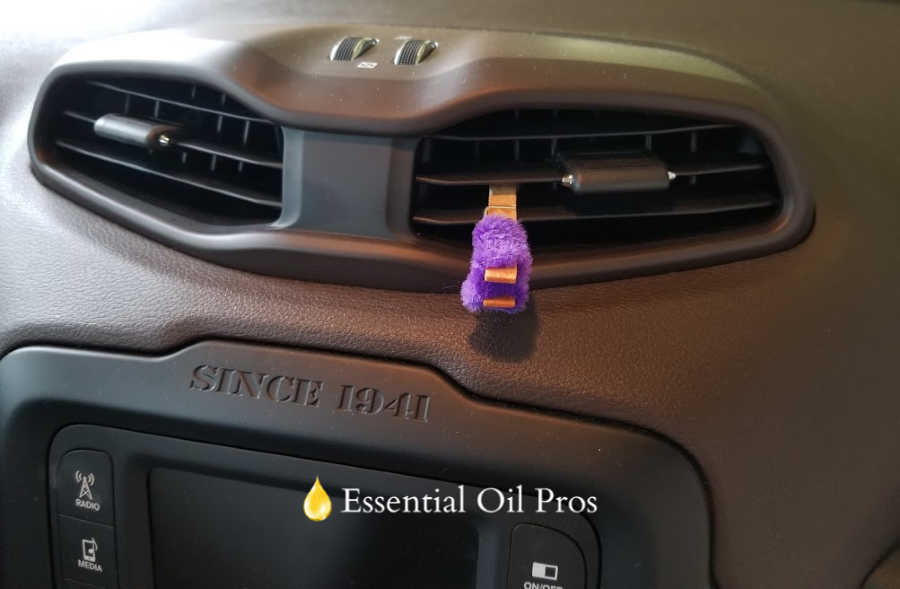
DIY Essential OIl Car Diffusers
If you prefer a hanging car diffuser for your essential oils over a clip-on, make one of the wood essential oil diffusers we previously discussed and hang it on up there!
14. DIY Essential Oil Fire Starters
If you own a wood-burning fireplace, then you know how challenging it can be to get it started sometimes. Make your own fire starters–they last longer than kindling wood and smell heavenly.
These take a little more effort than the other DIYs I’ve shared, but they are so worth the effort and make wonderful gifts.
How to Make a DIY Essential Oil Fire Starter
- Grab your supplies:
- muffin tin
- long candle wicks
- paper muffin liners
- small pine cones
- whole dried bay leaf
- cinnamon sticks
- whole cloves
- dried stem of rosemary
- beeswax
- Prep by melting the wax and lining the muffin tin with the paper liners.
- Add the pine cones, bay leaf, cinnamon, cloves, and rosemary into the liners in an attractive layout. Gently place the long wick in the tin, weighing it down with a pine cone.
- Carefully pour the melted wax into the tins and let cool and harden; trim the wicks to one inch.
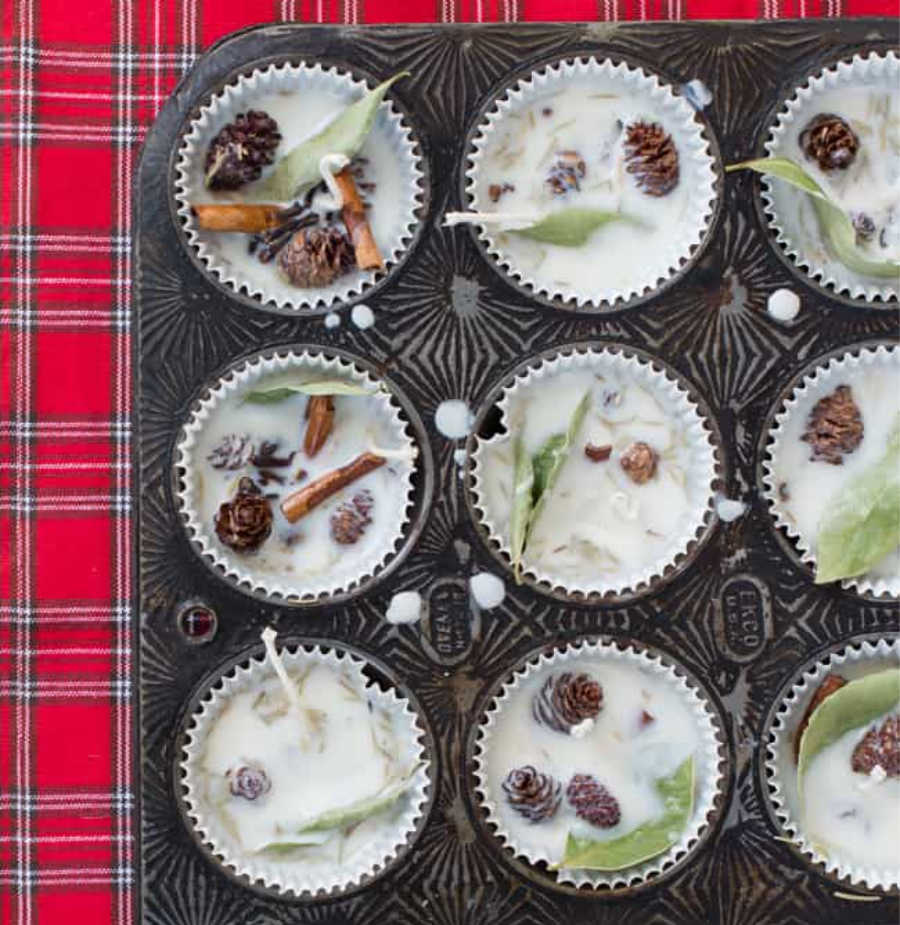
These fire starters should be used only in a wood burning fireplace. As the natural ingredients burn, they emit lush aromas that perfume your home.
15. DIY Mason Jar Oil Lantern
Mason jars are all the rage right now. Why not? They’re affordable, durable, and can be washed out and reused over and over again.
I live in North Carolina, and it’s time to make hurricane preparations. I have been looking for an oil lamp solution, and this one looks easier than most!
How to Make a DIY Essential Oil Mason Jar Lantern
- Get your supplies together:
- floating wicks
- one pint mason jars
- olive oil (does not need to be virgin, can be the less expensive kind!)
- small pine cones
- dehydrated orange slices
- cinnamon sticks
- sprigs of rosemary or evergreen shrubbery trimmings
- cinnamon and orange essential oils. Keep these about 1″ from the bottom of the band of the jar.
- Arrange the orange slices, pine cones, cinnamon sticks, and greenery into the mason jar in an attractive arrangement. Shake in 4 drops of orange essential oil and 4 drops of cinnamon essential oil.
- Top the jar almost to the bottom of the rim with the olive oil–leave room for the floating wick.
- Place the floating wick into the jar and light to diffuse the fragrance.
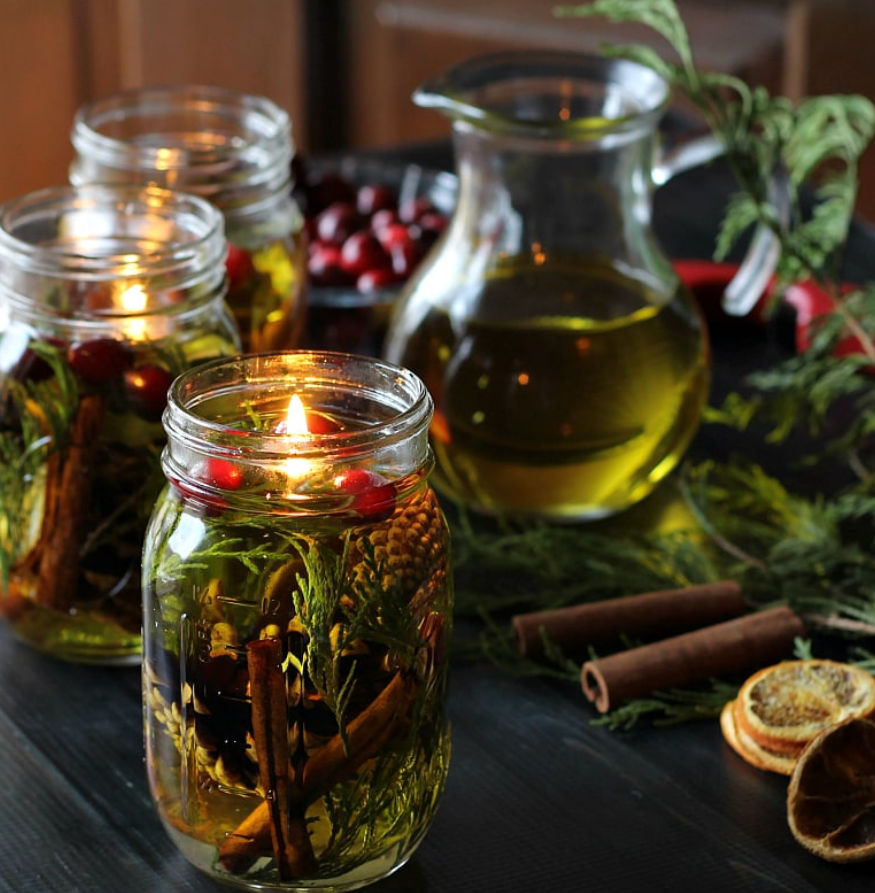
I am planning a large event this upcoming autumn. I am planning to downsize these to half-pint jars and fill with fall leaves and rosemary sprigs, and rosemary essential oil and use these for luxurious, fall-themed table decor and party favors on a budget.
Use your imagination with this project, the possibilities are almost endless.
The Bottom Line
DIY essential oil diffusers offer you the opportunity to customize your essential oil delivery in many different ways. By mastering the art of diffuser-making and essential oil mixology, you will save money on store purchased fragrance products (which are lousy for you, regardless).
Plus, you will open up your creativity and find wonderful new ways to give gifts for every occasion, straight from your heart.